Having a procedure done in the Minor Procedure Room? Click on each step below to see photos of what you can expect.
Arriving at the hospital
Step 1: Enter Children's Hospital using the B entrance off Baseline Road

Step 2: Take the stairs or elevator up to the second floor and follow the signs to Surgical Registration

Registering
Step 3: Enter the surgical registration area and take a number beside the volunteer desk
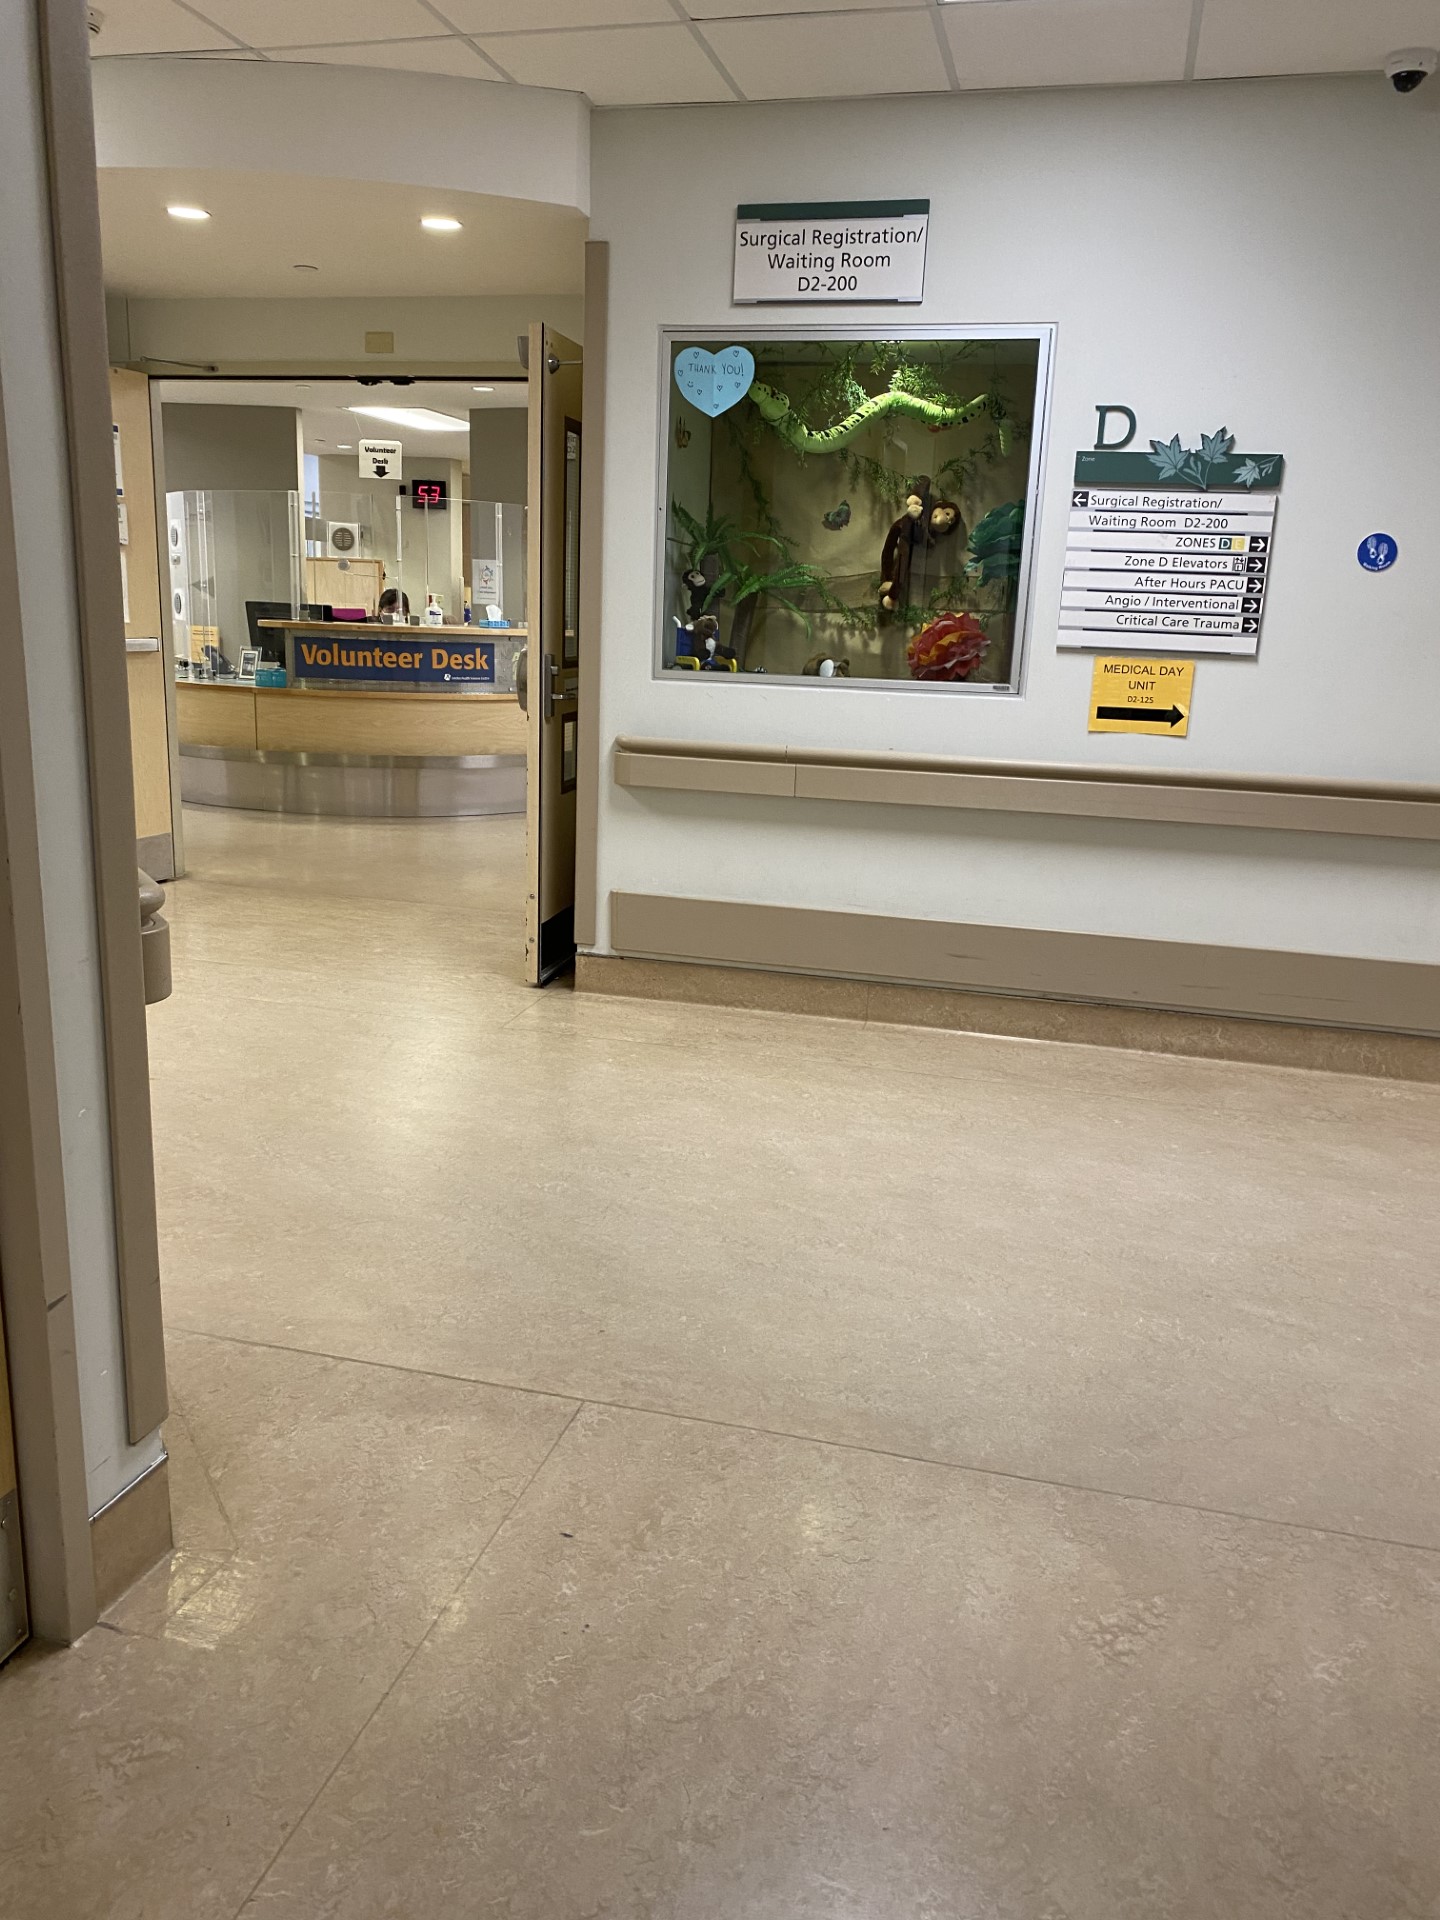
You'll know you're in the right place when you see the jungle scene.
Step 4: Once your number is called, go up to the registration desk to finish checking in and receive your bracelet

Waiting
Step 5: Have a seat in waiting room B until a nurse comes to get you

The pre-operative area
Step 6: The nurse will bring you to the pre-operative area through the doors and down the hallway


Step 7: Stand on the scale to get your weight and height checked

Step 8: Say hello as you pass the astronaut on the way to your bed!

Your bed
Step 9: Arrive at your bed

Step 10: The nurse will check your vitals
A vitals check includes:
- Checking your oxygen levels with an oximeter clip (it's like a pillow for your finger)
- Checking your temperature with a thermometer (you give it a hug under your arm)
- Checking your blood pressure with a blood pressure cuff (it gives your arm a tight hug)

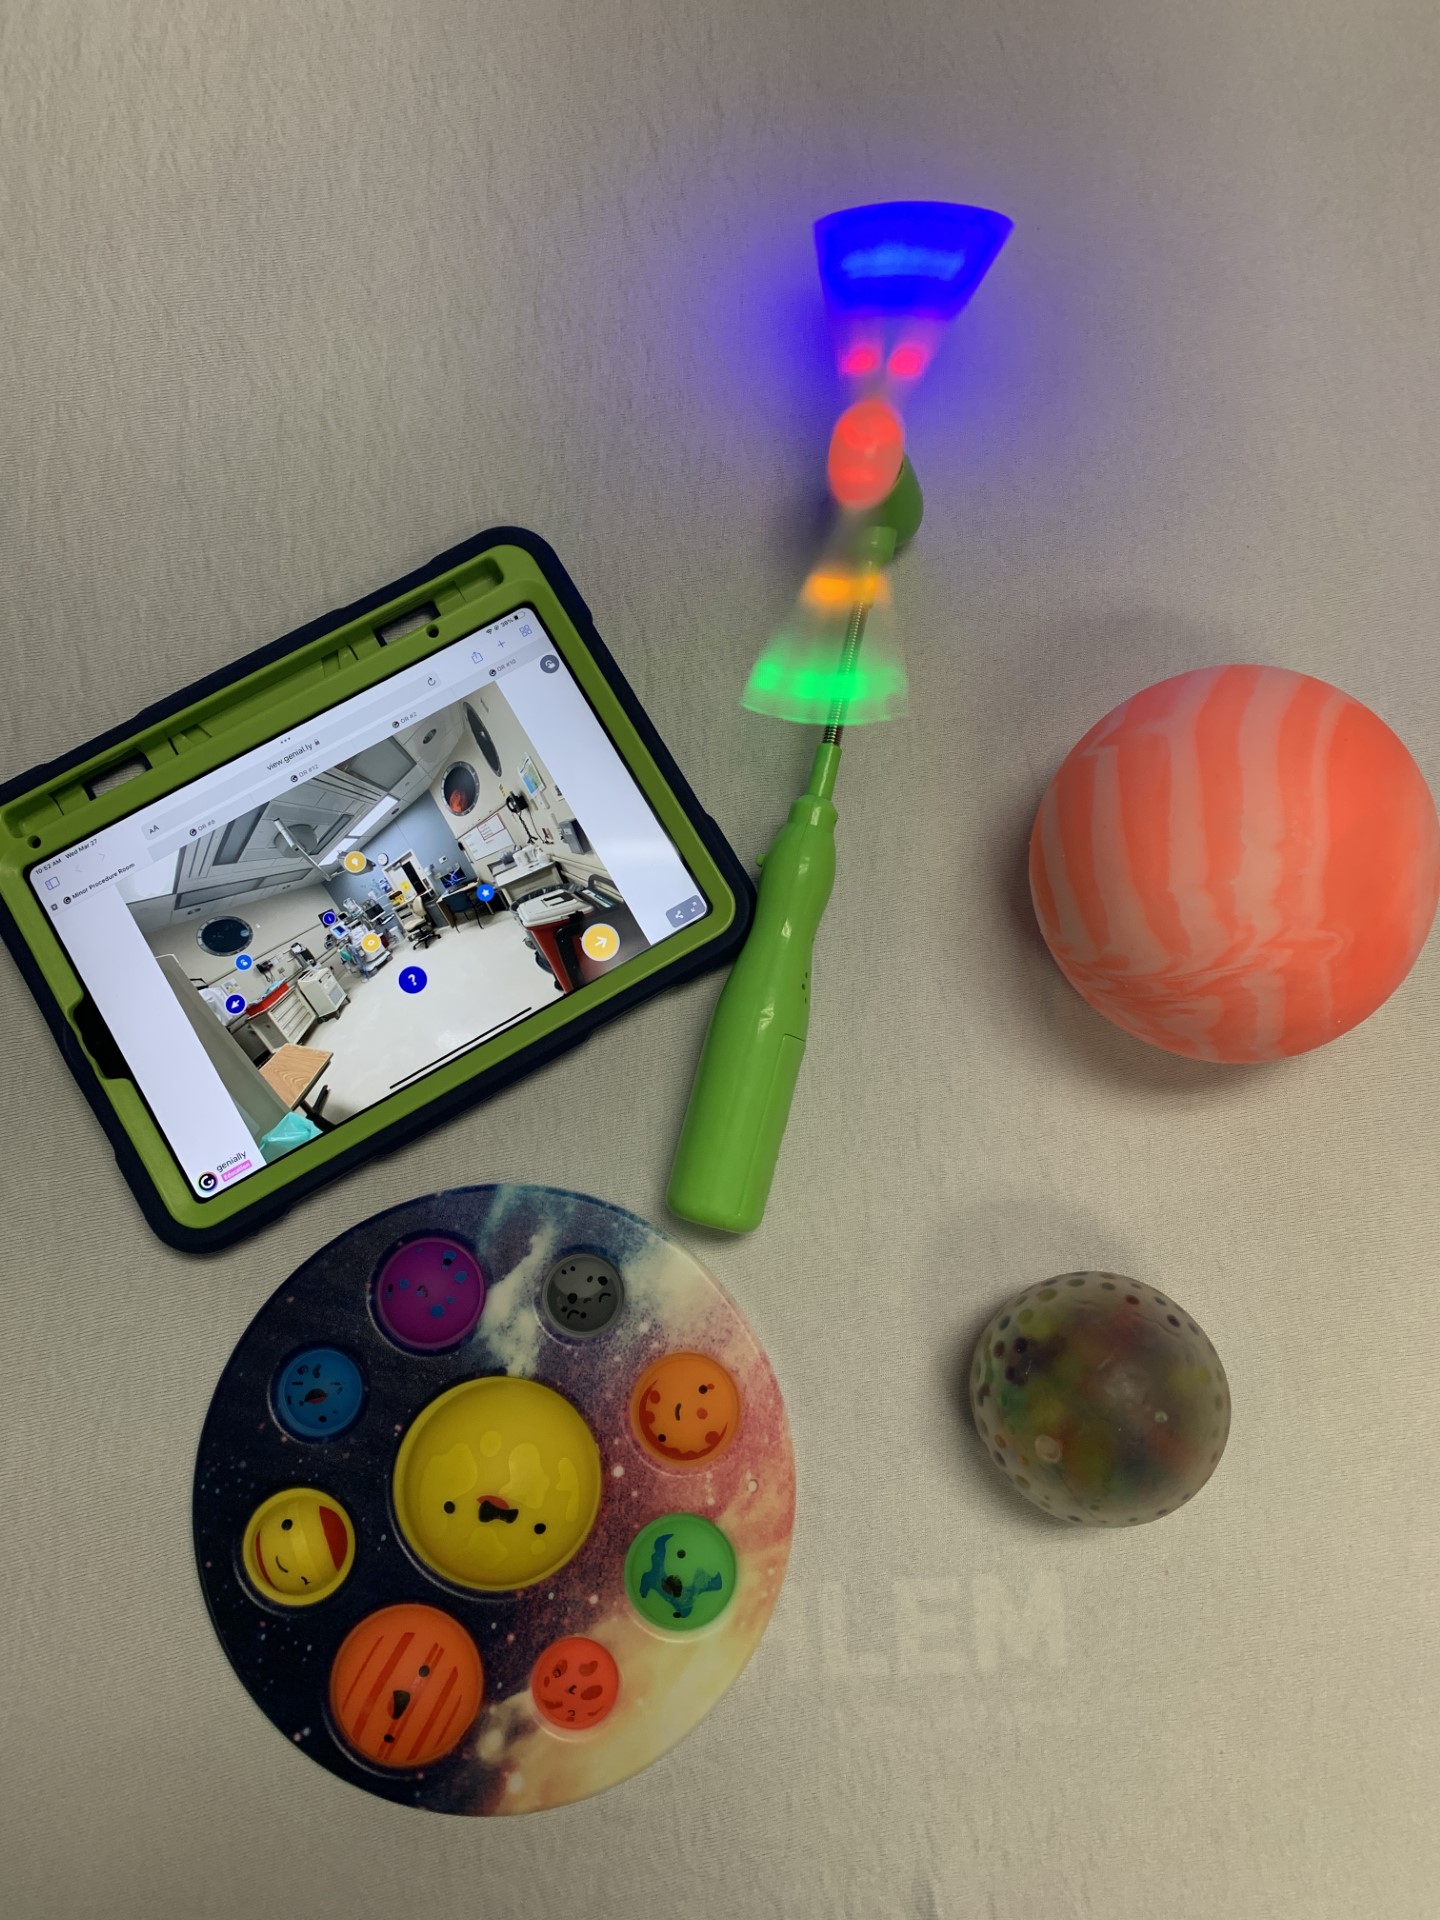
Step 11: A child life specialist will stop by to talk about your day in more detail and create a coping plan for you
The child life specialist may bring some cool toys and distractions for you, like these:
Step 12: When it's time for your procedure, the nurses will roll your bed into the procedure room
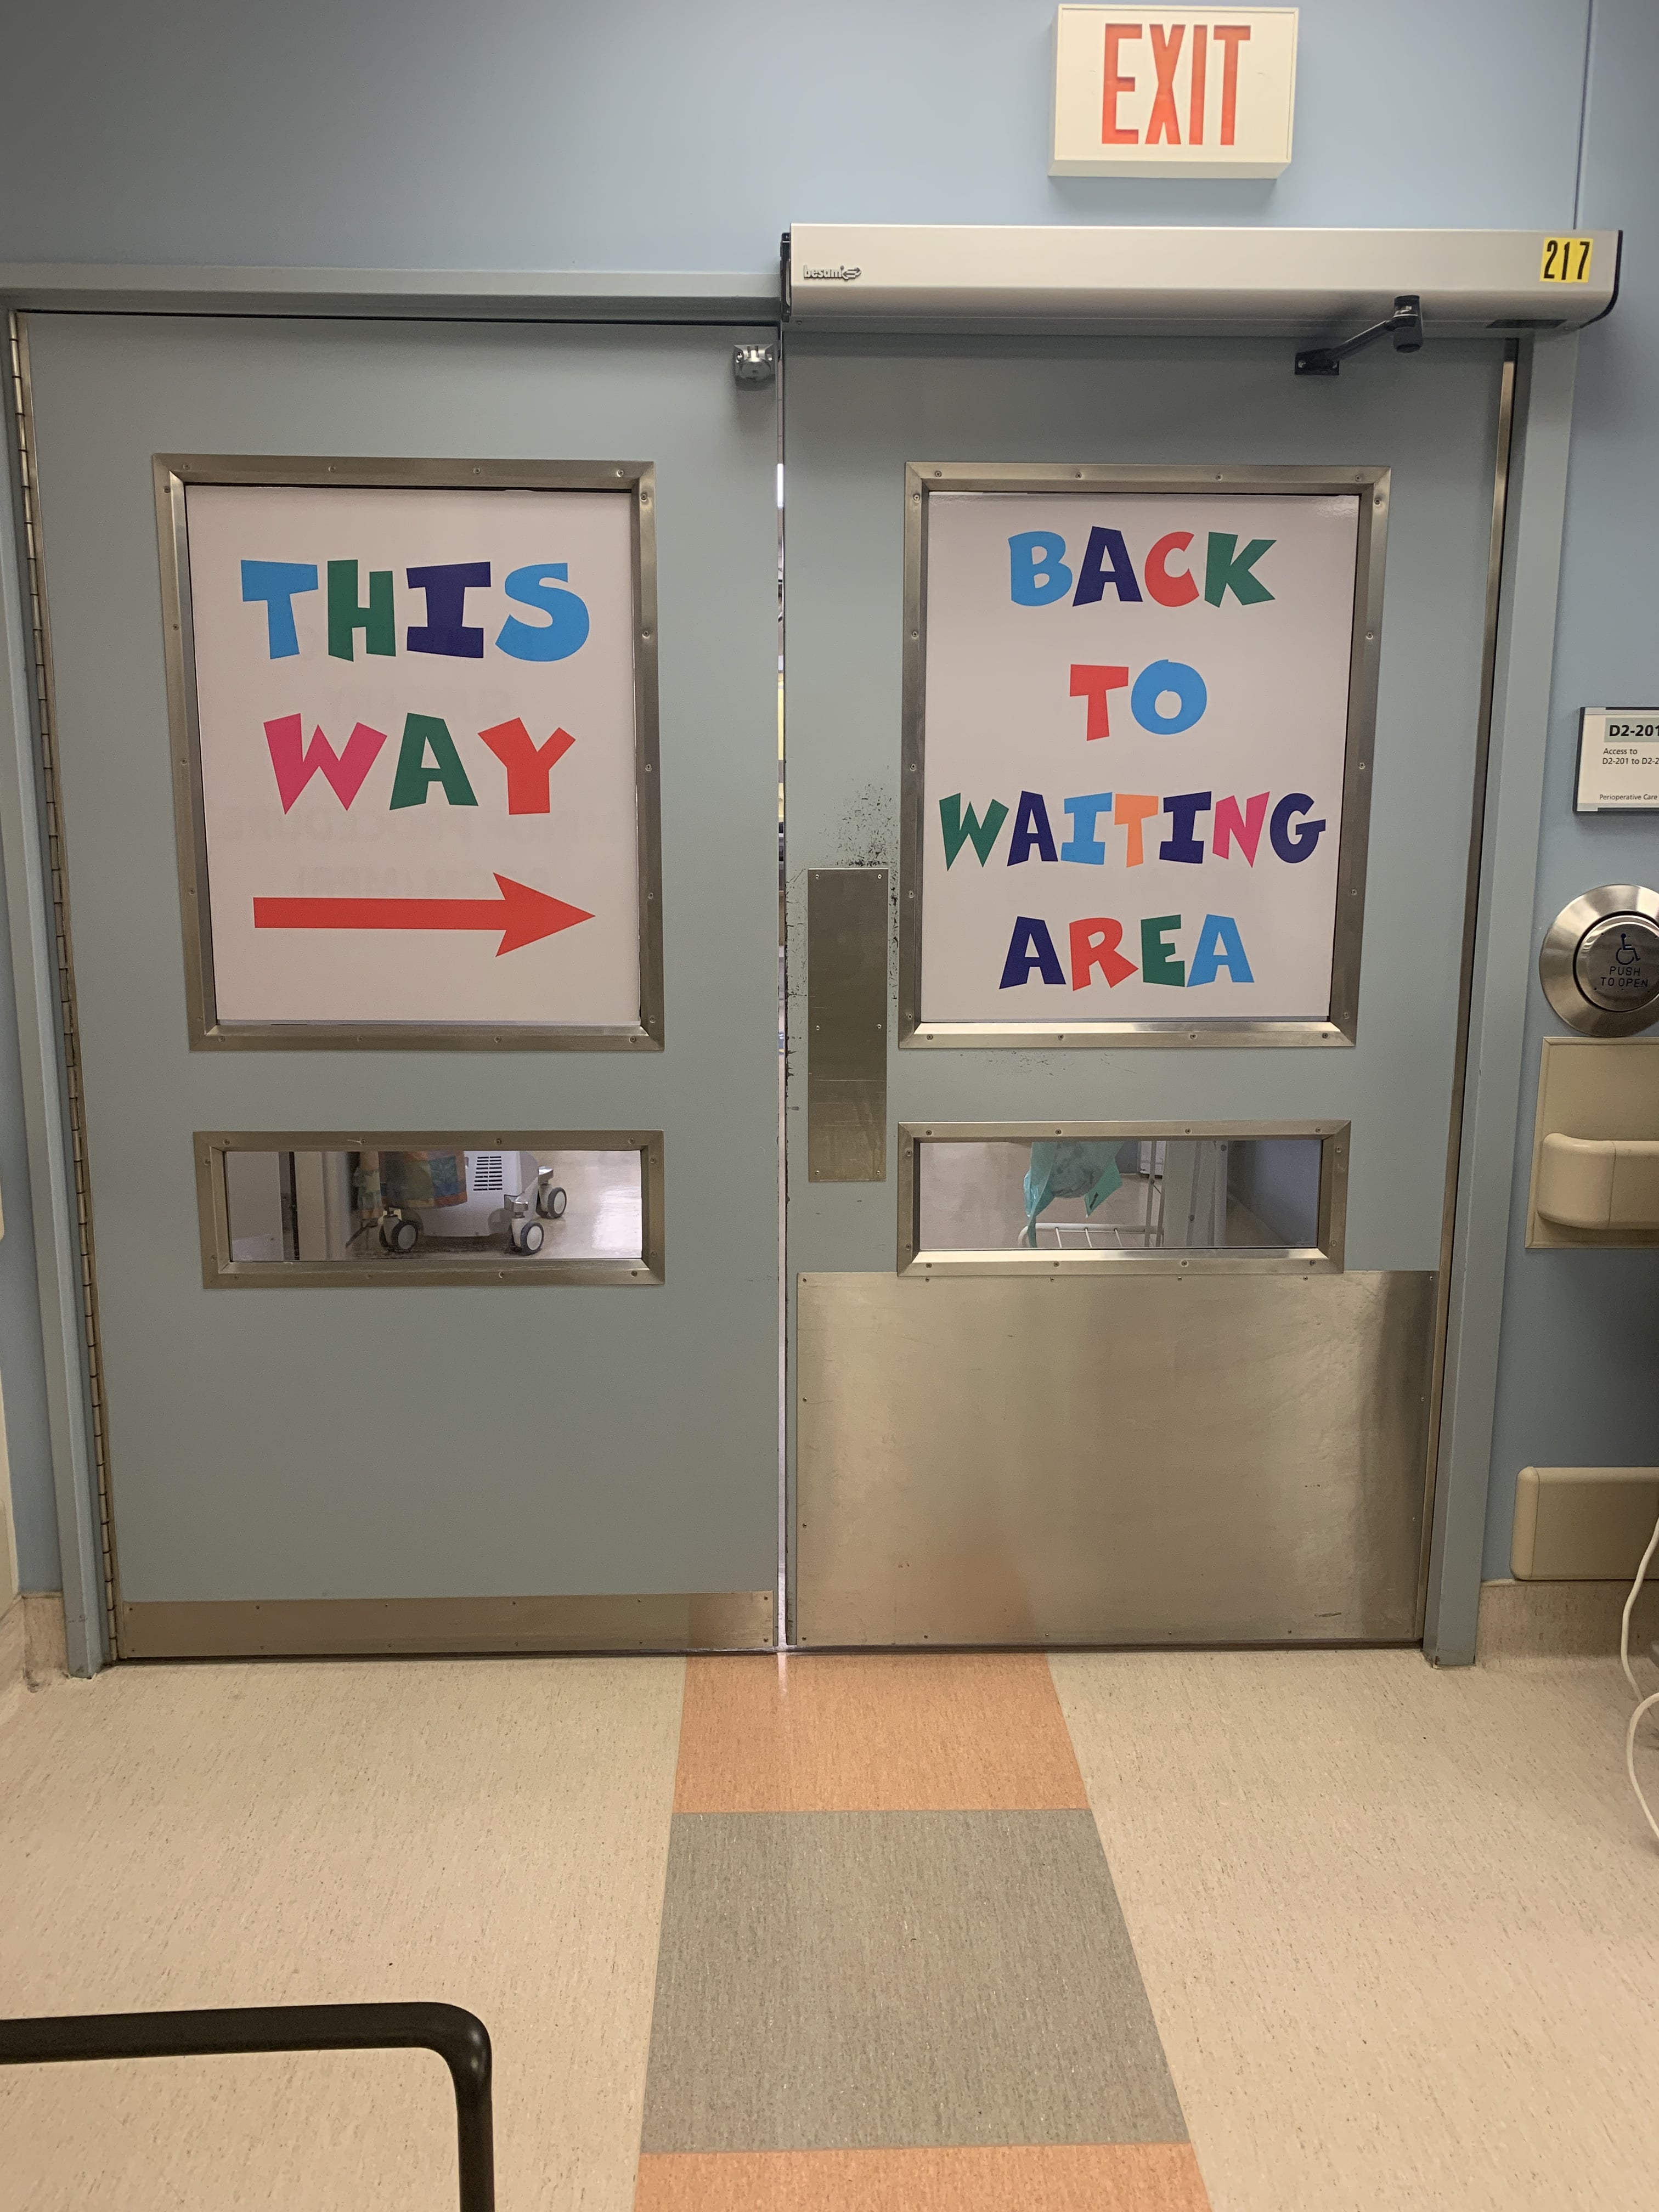
The door to the Minor Procedure Room looks like this:

Arriving in the Minor Procedure Room
Step 13: Take a look around the procedure room

Step 14: Get familiar with all the equipment inside it
- This is an anesthesia cart, which is what the anesthesiologist (sleep doctor) uses to give you the medicine you need to fall asleep. It also holds other supplies they need to do their job of keeping you safely asleep for your procedure.
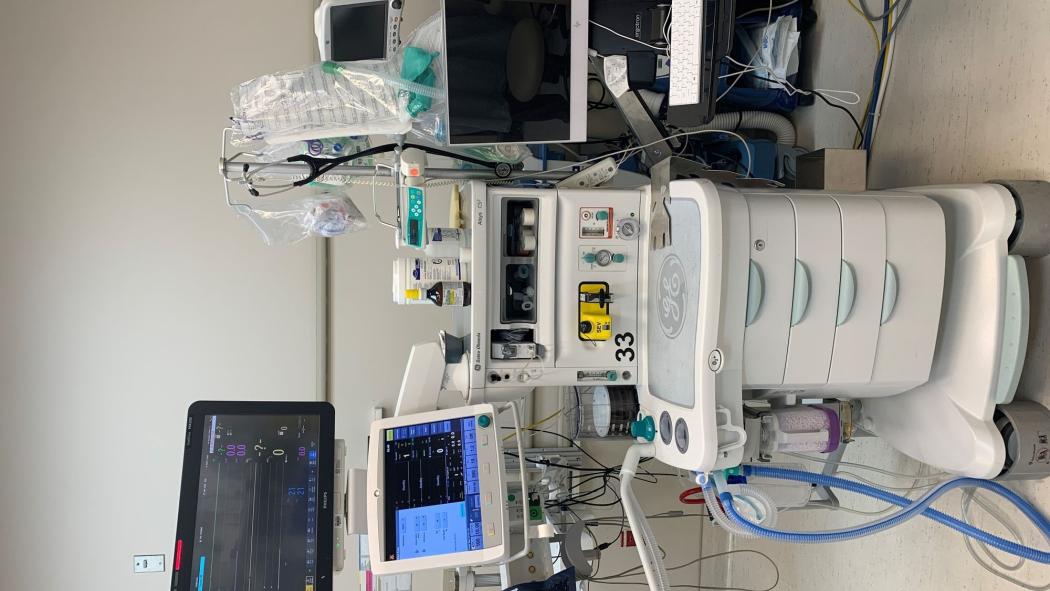
2. To watch your heart rate, they will use three heart monitors stickers. Two stickers will go on your chest and one on your stomach.

3. This is the light the doctors use in the procedure room so that it is extra bright. It helps them see well. You might remember seeing similar lights at your dentist.
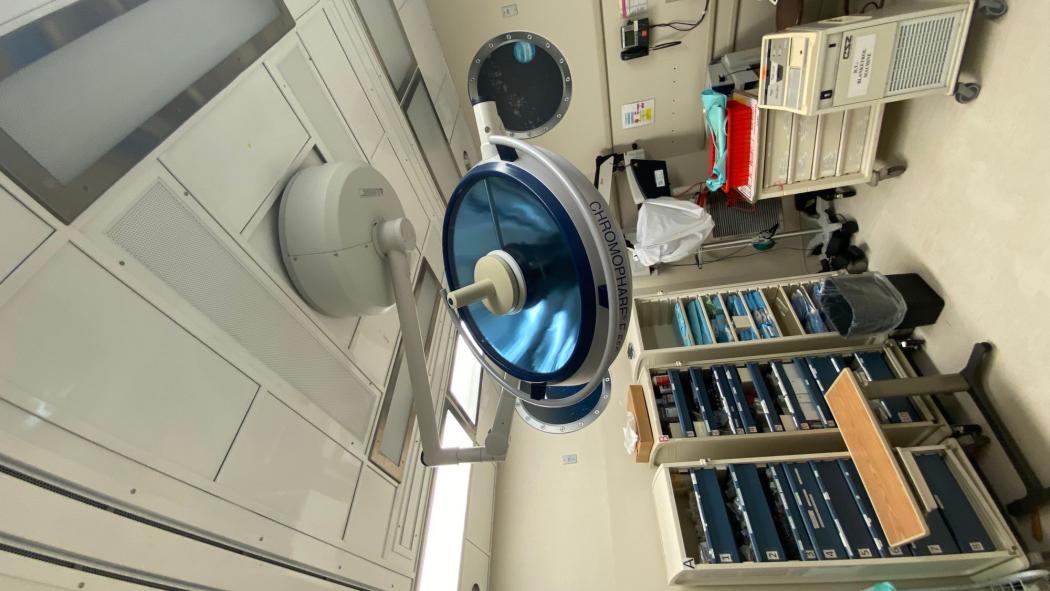
4. This side of the room has three carts with drawers filled with any medical supplies the doctors or nurses might need.

Going to sleep
Step 15: It's time to go to sleep! There are two different ways...
One way is with a sleep mask, where you take lots of deep breaths until you fall asleep.

The other way is with an IV. For this, they will put a tight band called a tourniquet around your arm or wrist. This helps your veins pop up.
Then, the nurses will look and feel for a good vein. Once they find a vein they like, the nurses will use a cleaning wipe to get rid of any dirt or germs we cannot see.
Next, they will put in the IV. You may feel a little poke. Sometimes we can use a cream to help take away some or all of the poke feeling.

Waking up
Step 16: Once the procedure is done, you’ll wake up in the same bed, back in the room from Step 9
Step 17: Snack time

Going home
Step 18: After a little bit, the nurses will do one last check of your vitals check and then it’s time to go home!